


 FREE SHIPPING £75+
 CELEBRATING 50+ YEARS
 PRICE MATCH GUARANTEE
There are available advanced measurements within UltraSpectrum. These measurements include ACP, TOI, and others. To retrieve these measurements, the instrument must have the advanced measurement kit (AMK part number) installed.


Is the DSA-815 CISPR Compliant?
The Rigol DSA-815 Spectrum Analyser represents a significant shift in how companies perform EMI and EMC testing. Now, R&D Engineers can afford to have test equipment that allows them to troubleshoot and test designs on their bench without having to schedule and pay for time at a full compliance lab.
As with any product, there are trade-offs for cost vs. performance. The DSA-815 is a great tool and provides many useful features for the price, but it does not perform exactly like fully compliant EMC test instruments.
The following list highlights some of the key requirements of CISPR 16-1-1 and where the DSA-815 meets or deviates from those.
Full compliance to CISPR 16-1-1 requires the EMI test receiver is of at least the following performance:
1. Frequency range: 9 kHz – 1000 MHz
DSA-815 frequency range: 9kHz to 1500MHz
2. Amplitude accuracy ±2 dB absolute amplitude accuracy
DSA-815 absolute amplitude accuracy < 2dB
3. The frequency response of the filters must also fall within a “mask” defined by CISPR 16.
The EMI filters in DSA800 are designed according to CISPR16.
4. CISPR Specified detectors are Peak, quasi-peak, and average and the charge, discharge time and meter constants of the quasi-peak detector are specified.
DSA800 has been designed to achieve CISPR performance , but has not been tested at this time
5. Specified input impedance must have a nominal value of 50 ohms with deviations specified: With 0dB attenuation: VSWR should less than 2, and with 10dB attenuation, VSWR should less than 1.2
The VSWR of DSA1000 and DSA815 have VSWR’s of about 1.5
6. Pass product immunity in a 3 V/m field
The DSA -815 has not been tested at this time.
7. CISPR “Pulse Test”/Preselection: Preselection is achieved by input filters that track the receiver tuning to reduce broadband noise overload at the front end mixer.
There is no preselection in DSA-815.
8. CISPR “Pulse Test”/Sensitivity and dynamic range. The EMI receiver must have a noise floor low enough to measure signals at low Pulse
Repetition Frequencies (PRFs)
The DSA-815 has been tested to these values as of late 2013. Contact Rigol (see below) for CISPR 16 Calibration Report.
9. Intermediate frequency rejection ratio and Image rejection ratio should be greater than 40dB.
The DSA-815 spec is about 60dBc.
EMC PreCompliance Measurements
RIGOL Spectrum Analysers are utilized in many applications, but EMC PreCompliance is of particular interest to our customers. All our applications content related to EMC can be found at:
www.rigolemc.com
DSA800 audio demod questions
Here are some additional details about the DSA-815 series of spectrum analysers:
1) What is the output impedance for the earphone?
• Typically around 100 OHM (non-specified)
2) What is the output power of earphone?
• 10mW Output Power. But it is not guaranteed.
3) Is the earphone stereo or mono?
• mono
4) Is the demodulation stereo or mono?
• mono
5) What type of earphone jack?
• 3.5mm
Using a Tracking Generator
A great blog for reference on Spectrum Analyser work. This entry from Ken Wyatt talks about using a tracking generator. Find the content here.
Hints for optimizing Demodulation with a Spectrum Analyser
The Rigol DSA1000 and DSA800 series spectrum analysers have demodulation capabilities.
Here are some hints that can optimize the demodulation output.
1. Use an antenna matched for the frequencies of interest
2. Set the center frequency of the spectrum analyser to the center frequency of the signal of interest. For example, of you wish to demodulate an FM signal with a carrier of 100MHz, set your spectrum analyser center frequency to 100MHz.
3. Select the proper demodulation type (AM for AM signals, FM for FM)
4. Enable the earphone or speaker on the spectrum analyser
5. Insert a 3.5mm stereo or mono earphone set into the 3.5mm headphone jack (DSA815)
6. Set the demodulation time to 1s
7. Set the RBW to 1MHz
8. Adjust the volume to a safe level. You can also tweak RBW to lock in signal.
How to measure a Digital TV Pilot Carrier Signal with a DSA815
Here is a user submitted application note on measuring Digital TV Pilot Carrier frequency.
Thanks to Frank Hertel Newman-Kees RF Measurements & Engineering.
1. Under Control — “BW / Det” — “Det Type”, select POS PEAK Detector.
2. Under Control — “Trace / P/F” — “Trace Type”, select CLEAR / WRITE.
3. Under Marker — “Marker”, select NORMAL.
4. Under Marker — “Marker Fctn”, select “Frequency Count”
5. Under “State” Select ON — Then Select “Resolution” and set it to 1 HZ / MANUAL
6. Under Control — “TG” Assure that “TG” is OFF
7. Under Control — “Sweep / Trig” Select “Time / Manual”
8. Set the “Sweep/Time” between 0.16 seconds and .60 seconds . Other SWEEP times can be used for desired and best results.
9. Under Control — “BW / Det” Set RBW to Manual & 100 Hz
10. Under Control — Set VBW to Manual & 1 KHz
11. Under Span — Set SPAN to 3 KhzSo you will be able to see the “Pilot Carrier”, in case the station is “Off Frequency / Out of limits”)
12. Under Freq — Enter the TV Channel’s Pilot FREQUENCY I.E. xxx,309,441 Hz
13. Once you can see the “Pilot Carrier”, centered in the display, you can then narrow the “Span” to between 1,000 Hz and 500 Hz and set “VBW” to 10 HZ
14. Under Marker — “Peak”, set “Cont Peak” to “ON”
15. Read the Channel’s “Pilot Carrier” FREQUENCY (with 1 HZ Resolution) as displayed in the upper Right area of the screen
16. For a more Precise Frequency Measurement, you will need to connect a “Precision” 10 Mhz Reference Signal to the rear “10 Mhz In “, BNC connector
NOTE: For Antenna / Distant Measurements:
Set Reference level (Ampt – “Ref Level” at –20 to –30 DBM)
Set “Input Atten” at 10 DB / MANUAL
Set “Pre-Amp” ON
Set “Input” 75 Ω
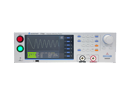
Spectrum Analyser Feature Demonstration
The DSA 800 series of spectrum analysers are packed with features.
Spectrum analysers are similar to oscilloscopes.. except that they measure and display amplitude vs. frequency and not amplitude vs. time as a scope does.
Typical applications include Radio (Channel monitoring, demodulation of radio transmissions), Characterizing antennas, amplifiers, and filters, EMI/Interference testing, and RF education.
Here is a quick run through of the buttons and menu highlights:
- Frequency – Detector sweeps from a min to a max value. Min 9kHz to 1.5GHz max
- Center, Start, Stop
- Peak to CF (Center frequency)
- Span – The frequency range scanned.
- Full Span – fast way to get full frequency span
- Zero span – Shows time vs amplitude at a fixed frequency range.. like an oscilloscope.
- Zoom In/Out
- Amplitude
- Autoscale
- Adjust reference level (top of display)
- Adjust input attenuation
- Adjust scale, type, and units (Change units to dBuv)
- RF Preamplifier standard
- Correction factors (Antenna, Cable, Other, User) to compensate for losses and gains in setups
- Input impedence (50Ohm and 75 Ohm) selection (only mathematically corrects display.. still need 50 to 75 Ohm adapter for physical match)
- Bandwidth/Detector – Configure measurement detector type and set bandwidth of measurement window at each frequency value.
- RBW, VBW, and ratio (1,3,10 Resolution bandwidth settings standard.. low RBW of 100Hz)
- Detector type – Positive peak most common. Quasi Peak available option.
- Filter type – Gauss most common. EMI available option.
- Sweep/Trigger
- Mode – Single or continuous.. can set external TTL trigger
- Can select number of scans per trigger
- Trace
- Select trace number, type
- Averages per trace
- Math functions
- Pass Fail – Can create, edit, and store an Upper and Lower limit line. Can use this for creating pass fail limits for filters, AM/FM channels, and also EMC/EMI limit lines.
- Tracking Generator (Option)
- Frequency scanning RF source with adjustable amplitude. The source frequency and bandwidth are identical to the input settings for the analyzer.
- Can adjust for amplifier gain using TG level offset
- Measure
- AMK (Total Power, Adjacent Channel Power, Channel Power, Occupied Bandwidth, Emission Bandwidth, Carrier to Noise Ratio, Harmonic Distortion, Third Order Intercept)
- VSWR
- Demod
- AM/FM
- Storage
- 7 setups (includes data captured during save.. can be connected to preset key on the front panel as well as power-up)
- 10 states (instrument configuration. Active data.. not stored from save as in setups)
- Traces (CSV data to external USB memory stick)
- Print BMP display image to USB.
- Marker
- Markers indicate frequency and value of point on the trace. Available as Normal, Delta, Span Pair.
- Can display as frequency, Period, or delta time
- Can display a Marker table
- Marker function
- Can configure and select a noise marker and frequency counter
- Peak – Quickly find peaks based on user defined amplitude value.
- Selects peak value on trace. Can configure.
- Peak table available.
- System
- Language
- Reset
- Select power on state as well as configure the Preset button state
- Calibrate
- Adjust auto calibration
- Adjust IO settings. DSA-815 has USB and LAN. A GPIB to USB adapter is available.
- Display
- Use to adjust display and trace brightness
- Change function message
- Enable/Disable display line
- Work setting
- Front Switch – If “Off”, unit will power on when mains power is present. No need to use the front power button.
- Line mode – Allows you to save user States. You can connect these to the Preset button on the front panel
- UserKey – You can use the User Key to gain fast access to a common setting or function.. simply enable the User Key, select the menu of choice (Measure > VSWR Enable) , and press User Key again. Now, User Key is linked to that menu item.
- Information – FW and HW revs
- Self Test
- Time/Date
- License – Check or install SW license options like VSWR or EMI
- TX1000 – This instrument can operate the Rigol TX1000 RF Evaluation board directly
Show:
- Low DANL.. <135 dBm.
- From factory defaults:
- Set frequency start to 1MHz. Set stop = 10MHz. Larger spans increase scan time considerably. Press FREQ > Start. Press Freq > Stop.
- Set Resolution band width. Press BW/DET > RBW = 100Hz
- Set Attenuator to 0dB. Press AMP > Input Atten = 0dB.
- Enable RF Preamplifier. Press AMP > Down Arrow (page 2/2) > RF Preamp ON.
- Change the amplitude scale. Press AMP > Scale/Div = 12db
Options:
- Software – Convenient field upgrade at any point. Just contact Rigol
- Advanced Measurement kit – AMK
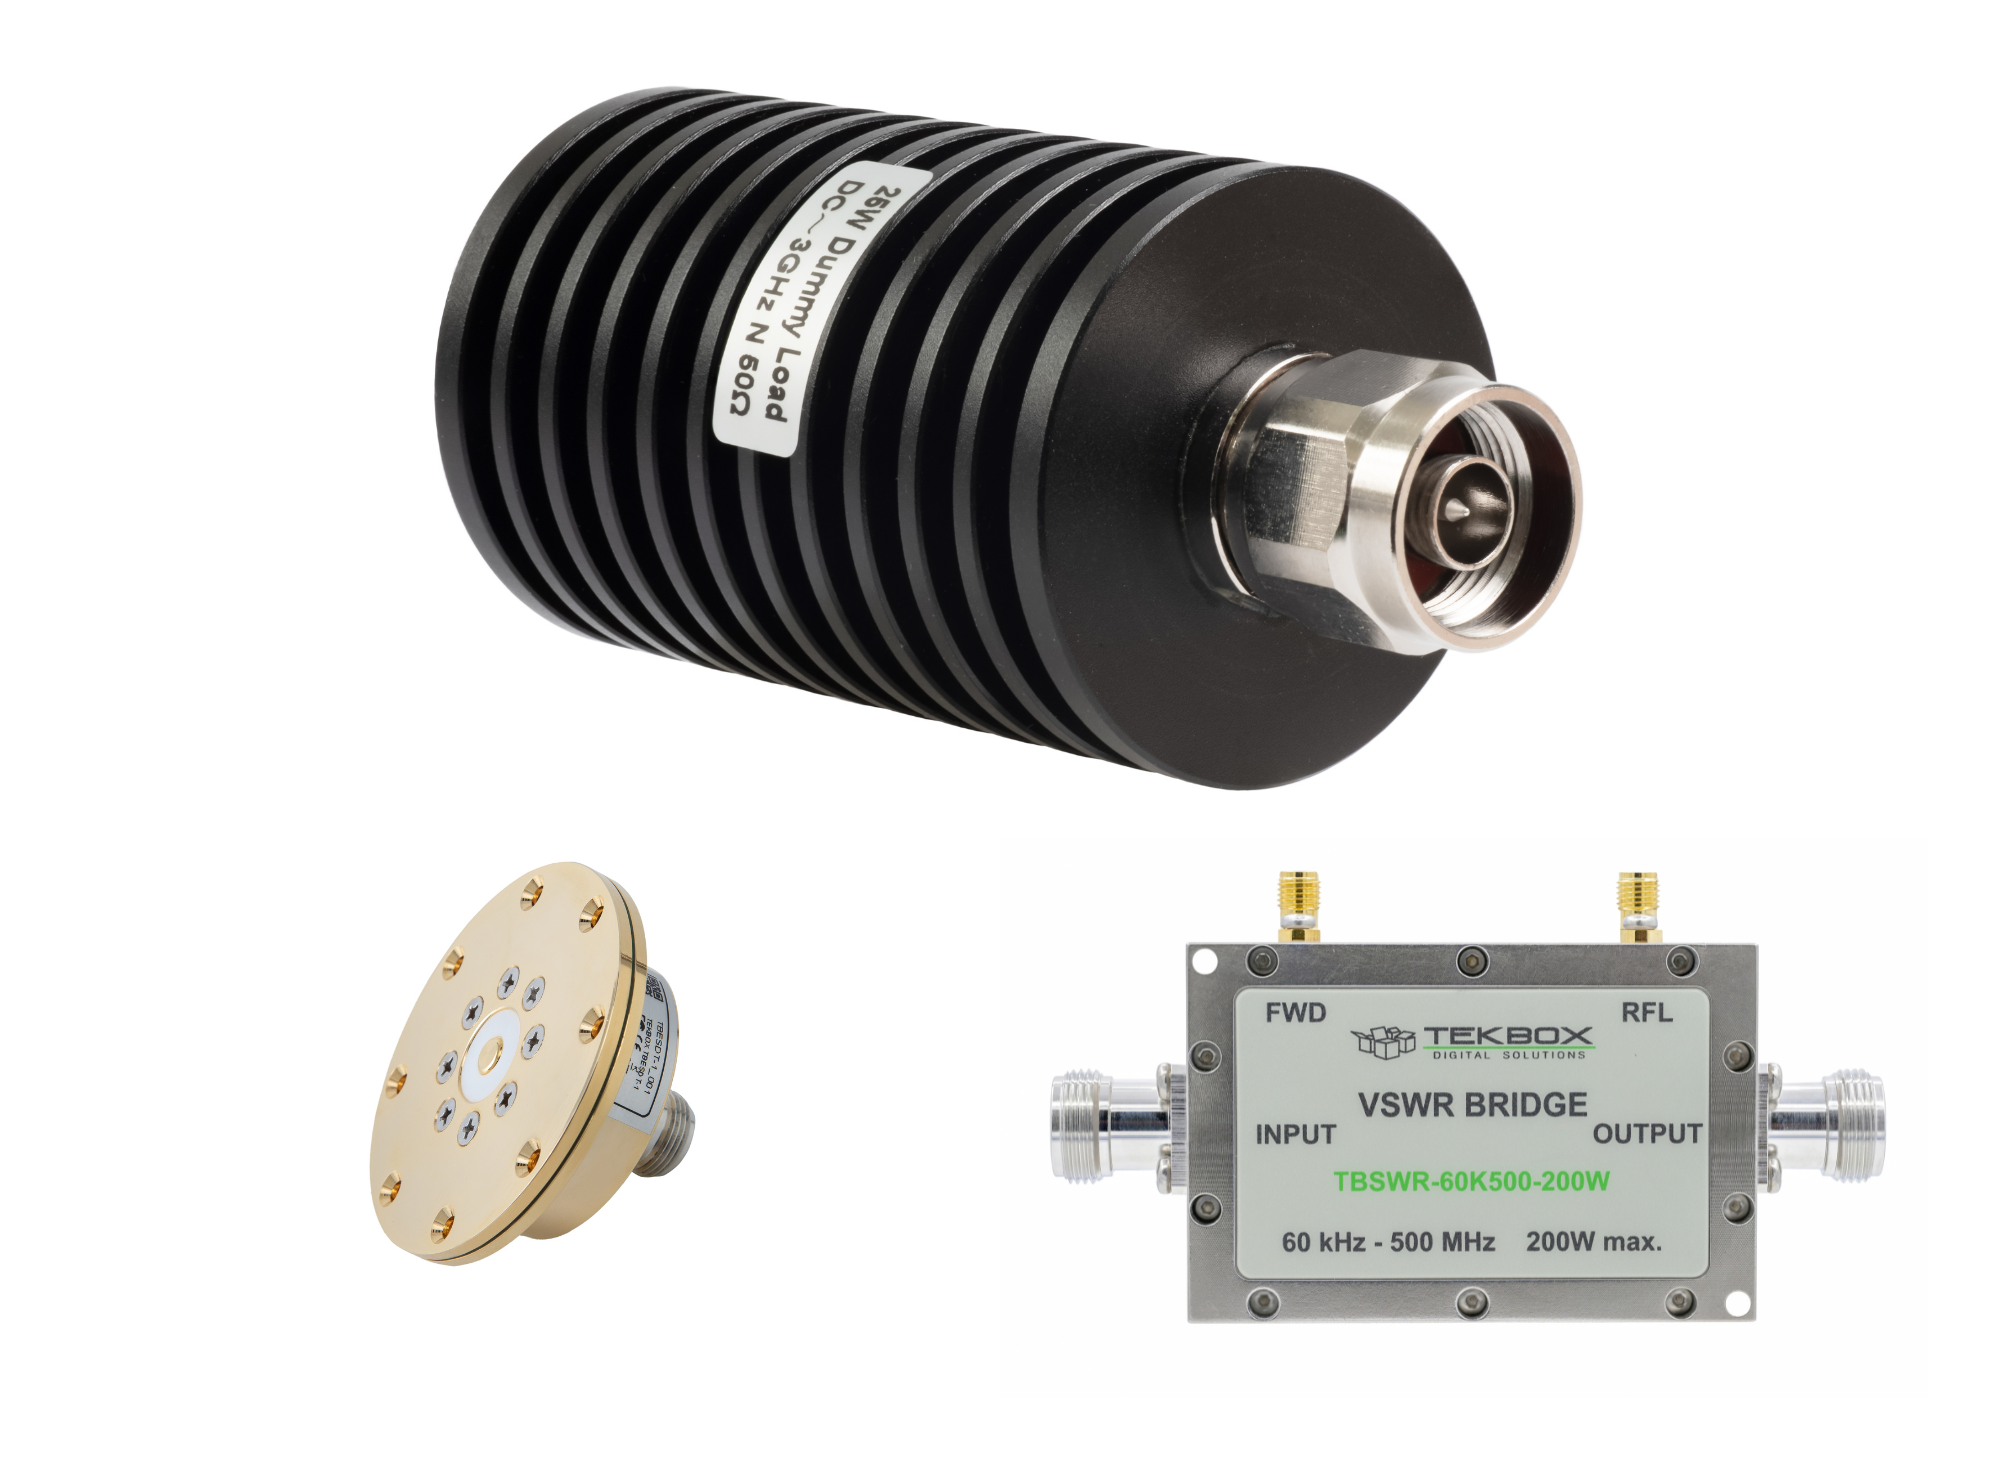
- VSWR and available RF Coupler/Bridge (VB1020/30)
- EMI toolkit featuring EMI filter, Quasi Peak Detector, and FCC RBW values
- Tracking Generator – Factory option. Must be selected at time of purchase.
Is a Preamp necessary with EMI work?
It’s generally recommended to use a preamp with a spectrum analyser when performing EMI and EMC pre compliance tests. The preamp is used to amplify the acquired signal above the noise floor for low level signals. So it’s very useful for EMI work.
Final determination will come down to what energy levels will be tested.
What operating system is used on the RSA3000/RSA5000 series spectrum analysers?
The operating system used for the RSA3000/RSA5000 series spectrum analysers is Linux v3.12.0, 32 bit.
DSA800 Series creating manual limit lines
The DSA815 features two pass fail limit lines, one upper and one lower. This document describes how to manually configure the upper limit line.
• In the control menu on the front pane, press Trace/P/F
• Select Pass/Fail
• Switch On
• Press Setup
• Select Upper Limit
• Select Edit
• Select point 1. This is the start of the limit line. The X Axis must be non-zero. We selected 0Hz with the -20dBm amplitude for the initial low frequency portion of the limit line.
NOTE: The Keypad is a convenient way to enter the values. Just type the numbers and select the desired units.
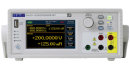
• Set point 2: X Axis 100MHz, Amplitude -20dBm, Connected = Yes
• Set point 3: X Axis 100.000001MHz, Amplitude -10dBmm, Connected = Yes
• Set point 4: X Axis 1.5GHz, Amplitude -10dBmm, Connected = Yes
• In the control menu on the front pane, press Trace/P/F
• Select Pass/Fail
• Select Setup
• Enable test by selecting Test ON
• You can also enable Fail Stop and enable Beeper (page 2 of the setup menu)
• You can store the limit lines internally or to an external USB stick by selecting storage, and set the filter type to Limit
Detector use cases
This document highlights some of the common uses for Spectrum Analyser Detector Types.
Product Categories
AC Power Supplies / Frequency ConvertersDC Power Supplies
DC Electronic Loads
Test & Measurement
Safety Testers
EMC
Soldering Irons / Test Tools
Manufacturers
Rental
Service & Support
AboutContact
Newsletter
Service Returns Form
Returns Policy
Terms and Conditions
Privacy Policy
Shipping & Delivery
My account